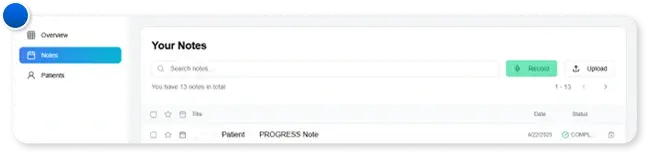
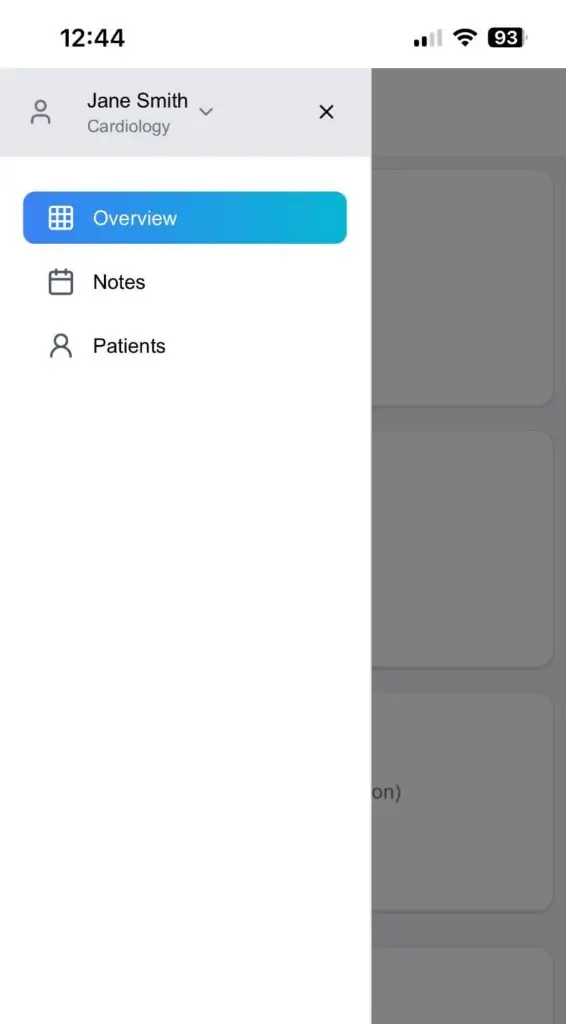
Click Notes (located at the upper-left side of the page)
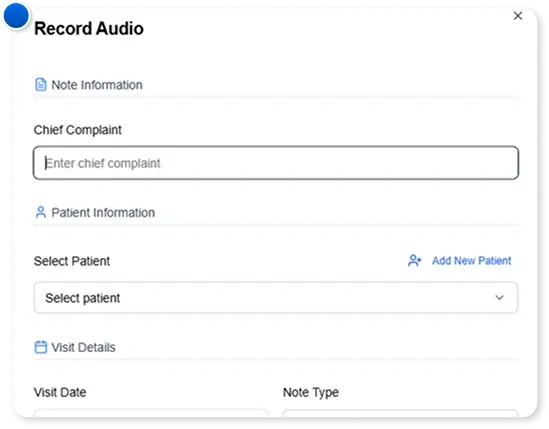
To start recording, click Record button located at the upper-right side of the page.
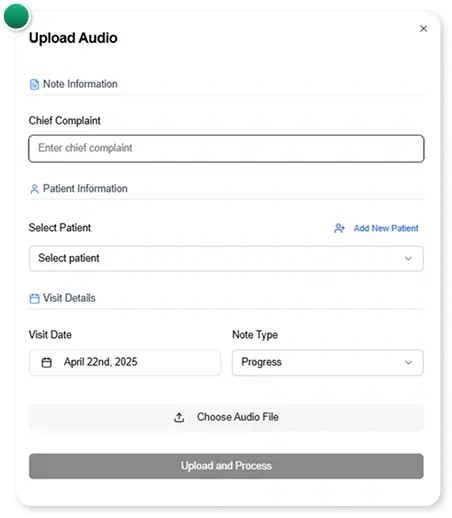
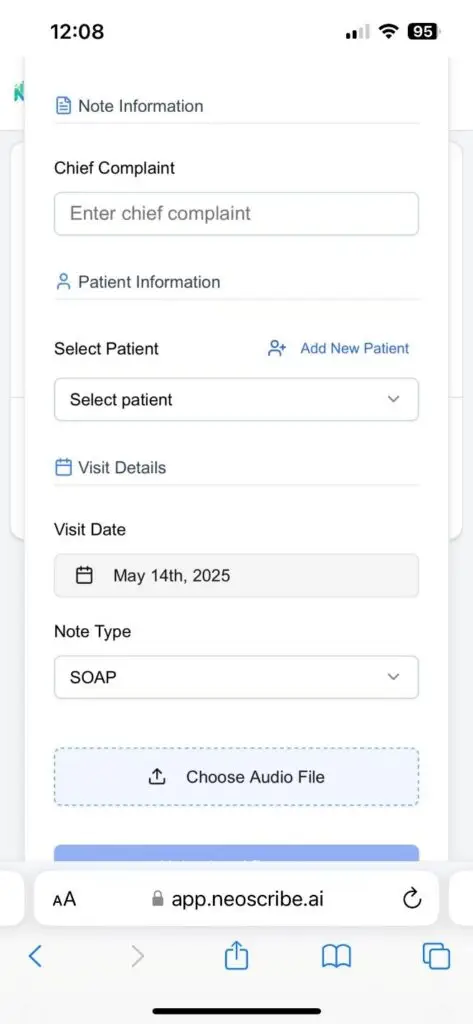
To upload an audio, click Upload button.
Step 4: Add a patient
For existing patients – click the drop-down arrow and select patient
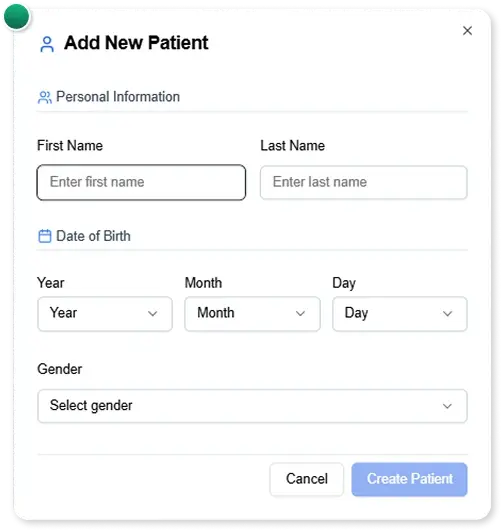
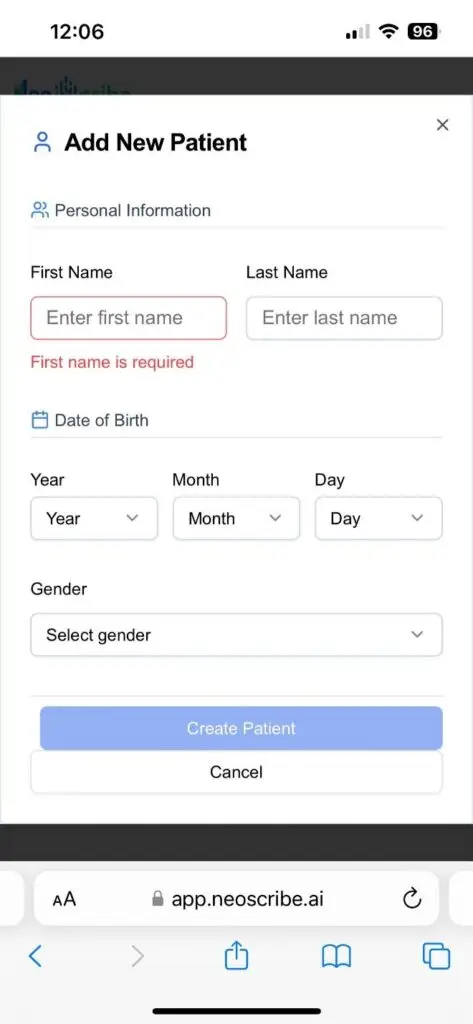
For new patients – click Add New Patient
Fill out the required fields
Click Create Patient
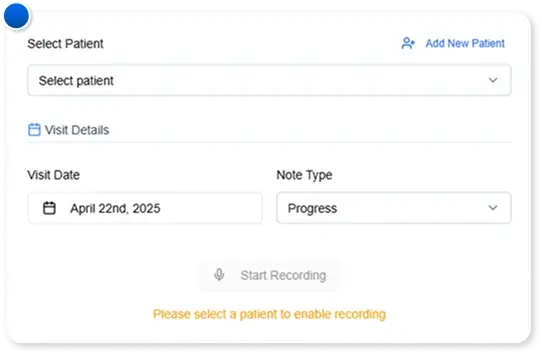
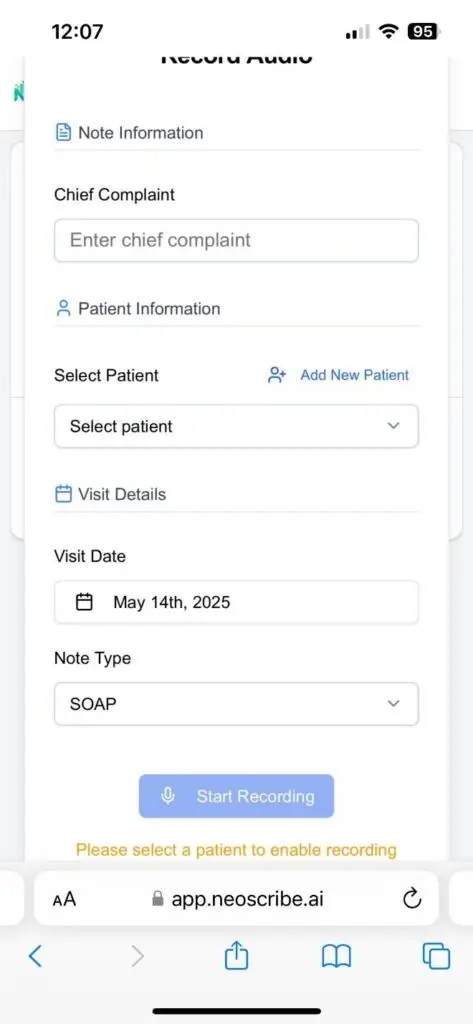
Step 5: Visit Details
Fill in Chief Complaint, Visit Date and Note Type
Click Start Recording
Click Stop Recording once done.
For Audio Upload – Choose Audio File then click Upload and Process
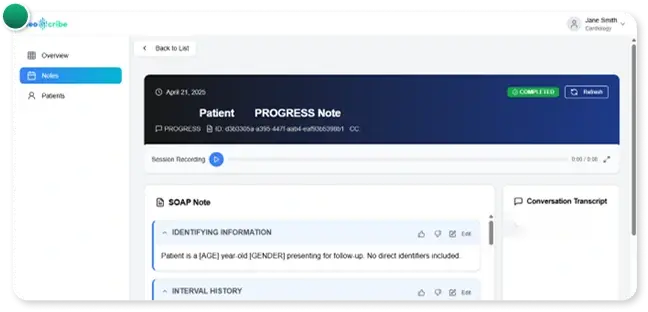
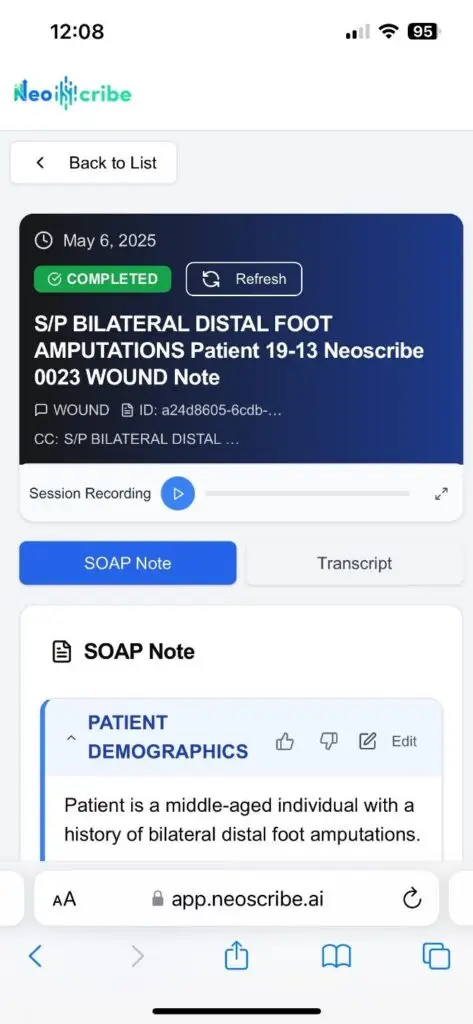
Step 6: Note Status
Once processing is completed, Note can be viewed by clicking the title.
Audio Transcript and Audio Playback are available.
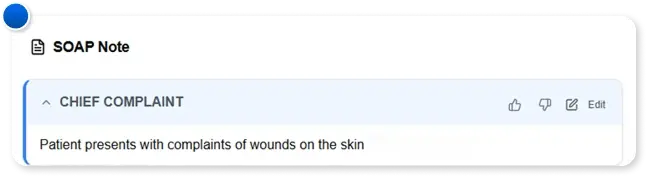
Step 7: Providing Feedback
Feedback can be provided within the note by clicking the Like or Dislike buttons.
An editing option is also available.
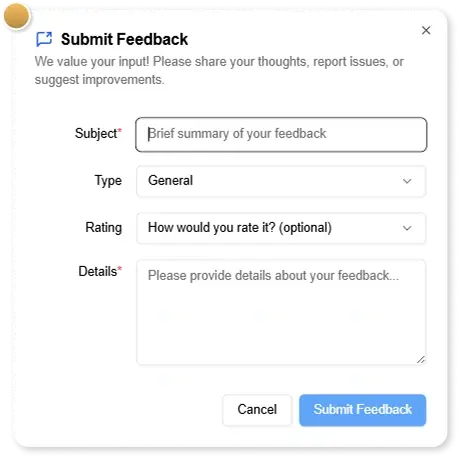
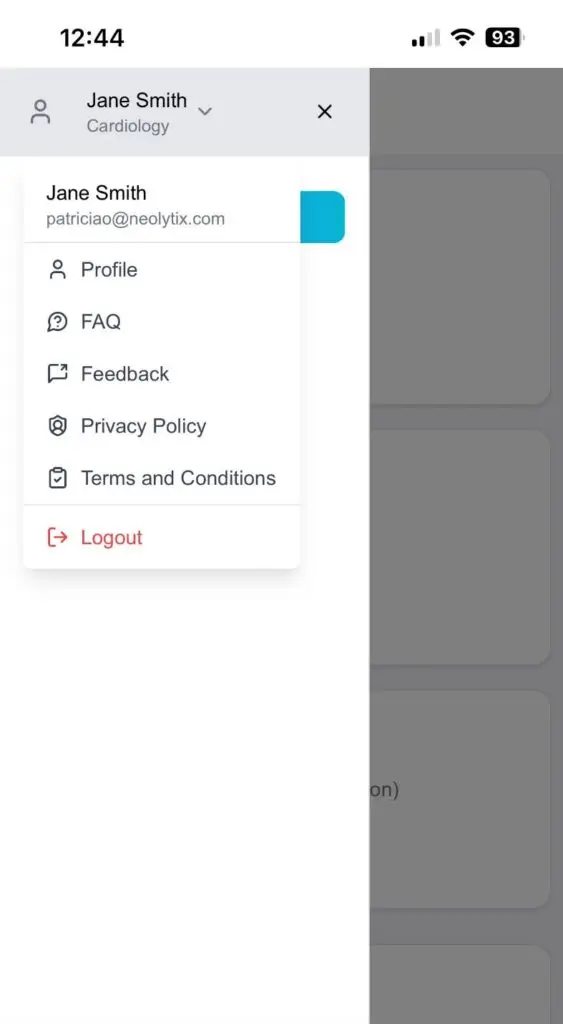
Feedback can also be provided through Feedback button located in the Profile
Click the drop-down arrow
Click Feedback
Fill out the required fields
Click Submit Feedback
Step 1: Sign up
Click Join Alpha
Fill out the required fields and Click Submit
An email confirmation will be sent to verify approval for Alpha use
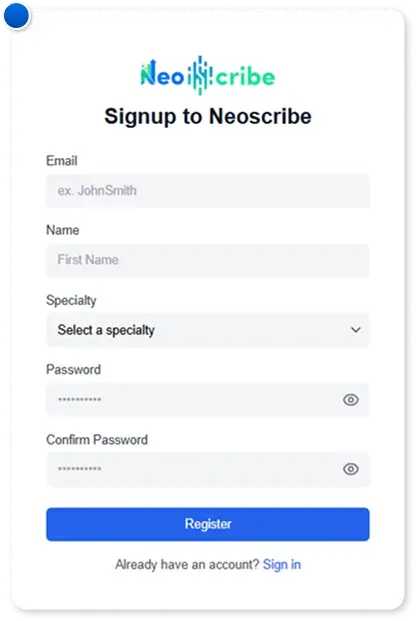
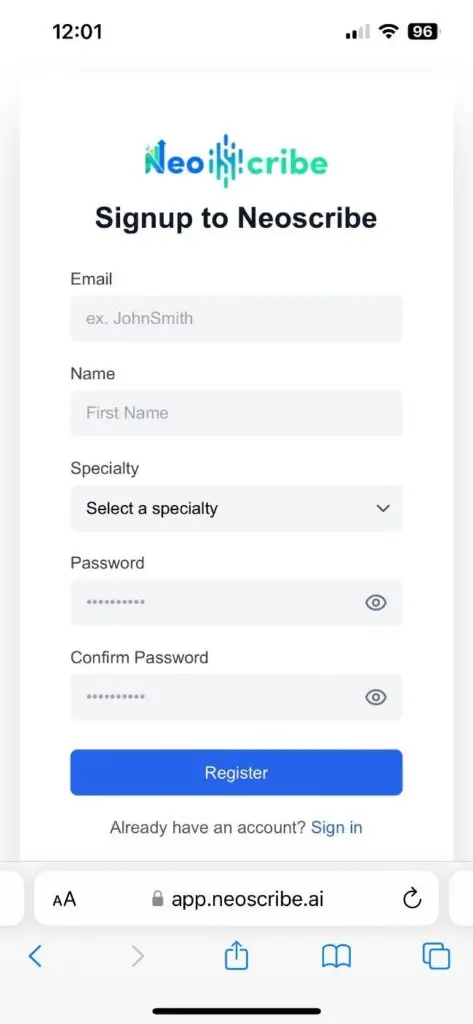
Click Sign up
Fill out the required fields
Click Register
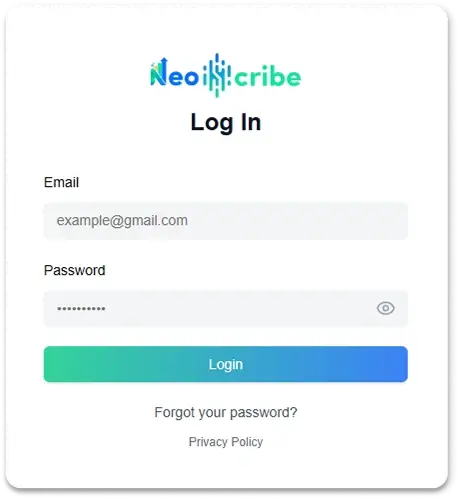
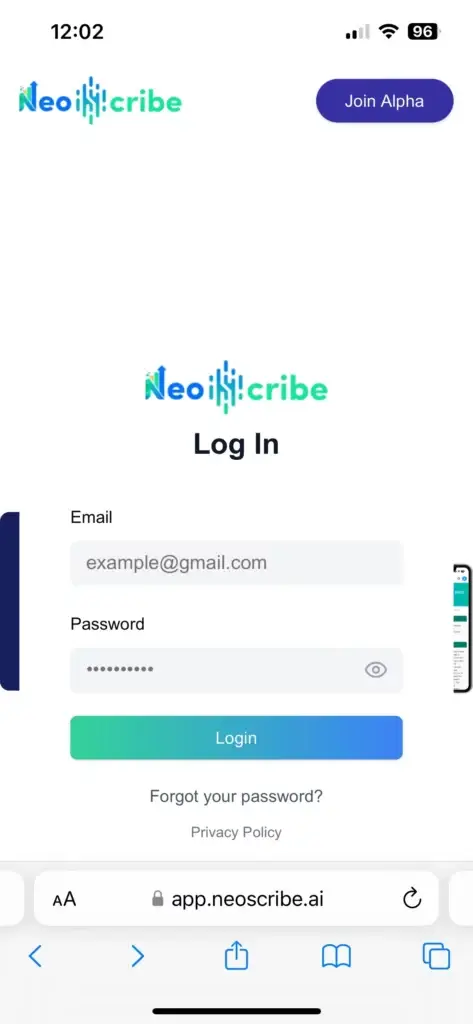
Step 2: Login
Go to NeoScribe website – app.neoscribe.ai
Fill in Username / Email and Password
Click Login
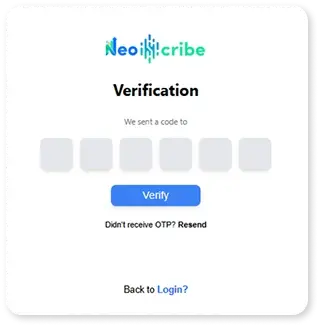
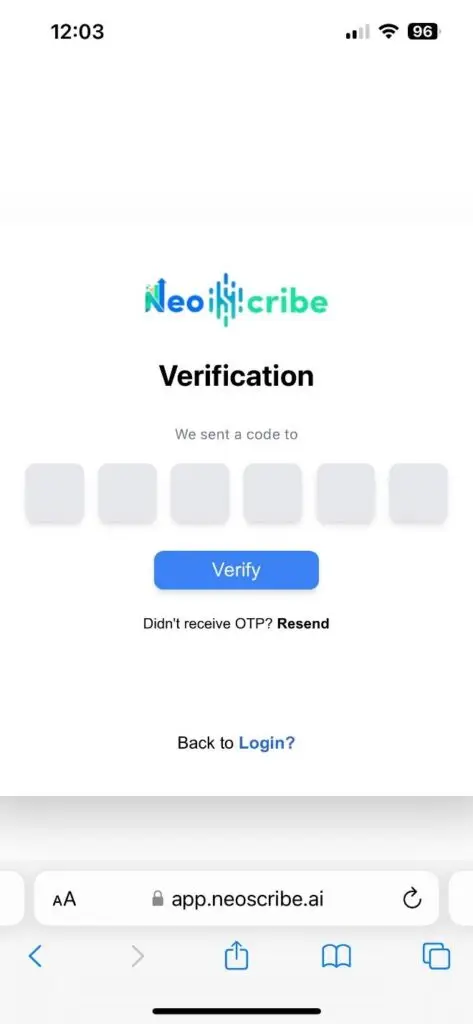
Check email address for the OTP
Fill in OTP
Click Verify
Step 3: Add a patient
We recommend you add a patient FIRST before you start recording the conversation.
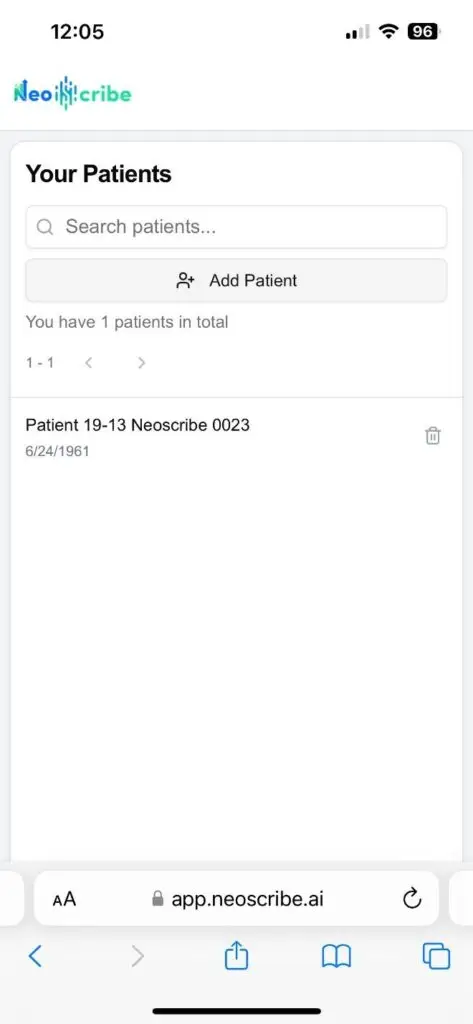
Click Patients
Click Add Patient
Fill out the required fields
Click Create Patient
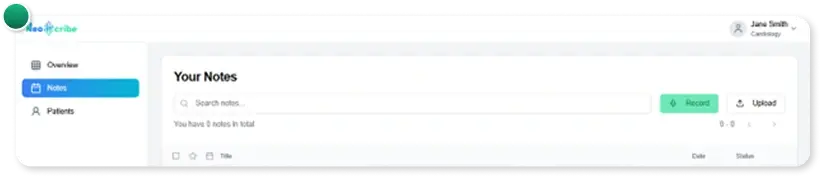
Step 4: Record / Upload an Audio
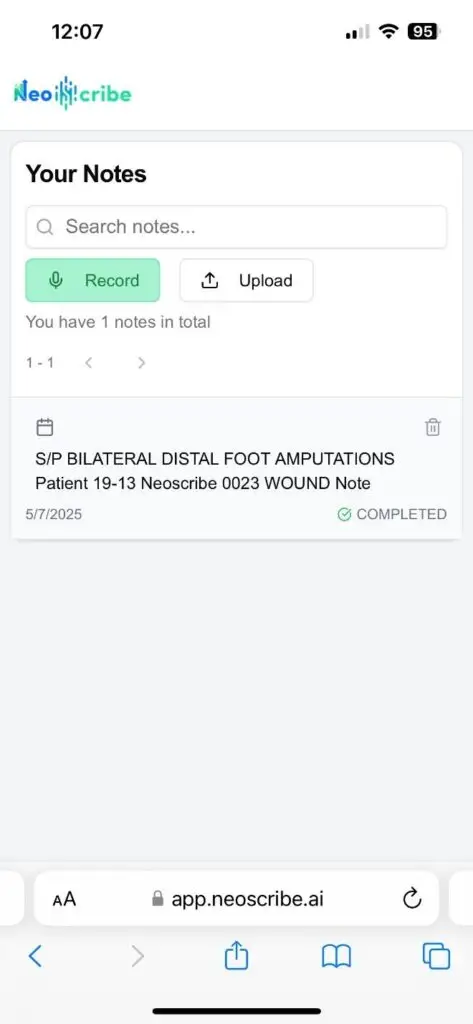
Click Notes
To start recording, click Record button
To upload an audio, click Upload button
Fill out the required fields
For existing patients – click the drop-down arrow and select patient
For new patients – click Add New Patient
Click Start Recording
Click Stop Recording once done.
For Audio Upload – Choose Audio File then click Upload and Process
Step 5: Note Status
Once processing is completed, Note can be viewed by clicking the title.
Audio Transcript and Audio Playback are available.
Step 6: Providing Feedback
Feedback can be provided within the note by clicking the Like or Dislike buttons.
An editing option is also available.
Feedback can also be provided through Feedback button located in the Profile
Click the NeoScribe logo at the upper left side of the page.
Click the drop-down arrow
Click Feedback
Fill out the required fields
Click Submit Feedback
FAQs
What is NeoScribe?
NeoScribe records the patient encounter and automatically generates clinical documentation, delivered in seconds. It utilizes a combination of generative AI and speech-to-text technology to complete the documentation on the provider’s behalf.
Is NeoScribe secure and HIPAA compliant?
NeoScribe adheres to strict HIPAA compliance standards,ensuring the security and confidentiality of all patient data.
Compatible with all devices: iOS, Android, web browsers, desktops, laptops, and smartphones.
Where can I find a user guide / training videos?
To explore additional resources, feel free to visit our Help Center.
What support is available for NeoScribe users?
Contact us – If you’re unable to find the information you’re looking for, please reach out to our team at support@neoscribe.ai. We will quickly assess your inquiry and offer tailored assistance to meet your needs.